Back To Blog
Oct. 21st 2025

How to Integrate Proxy in IXBrowser (Step-by-Step Proxy Setup Guide)

Easily connect Nstproxy to IXBrowser in minutes. This beginner-friendly guide shows you how to configure proxies, verify connections, and optimize your setup for automation and multi-account use.

What Is Nstproxy?

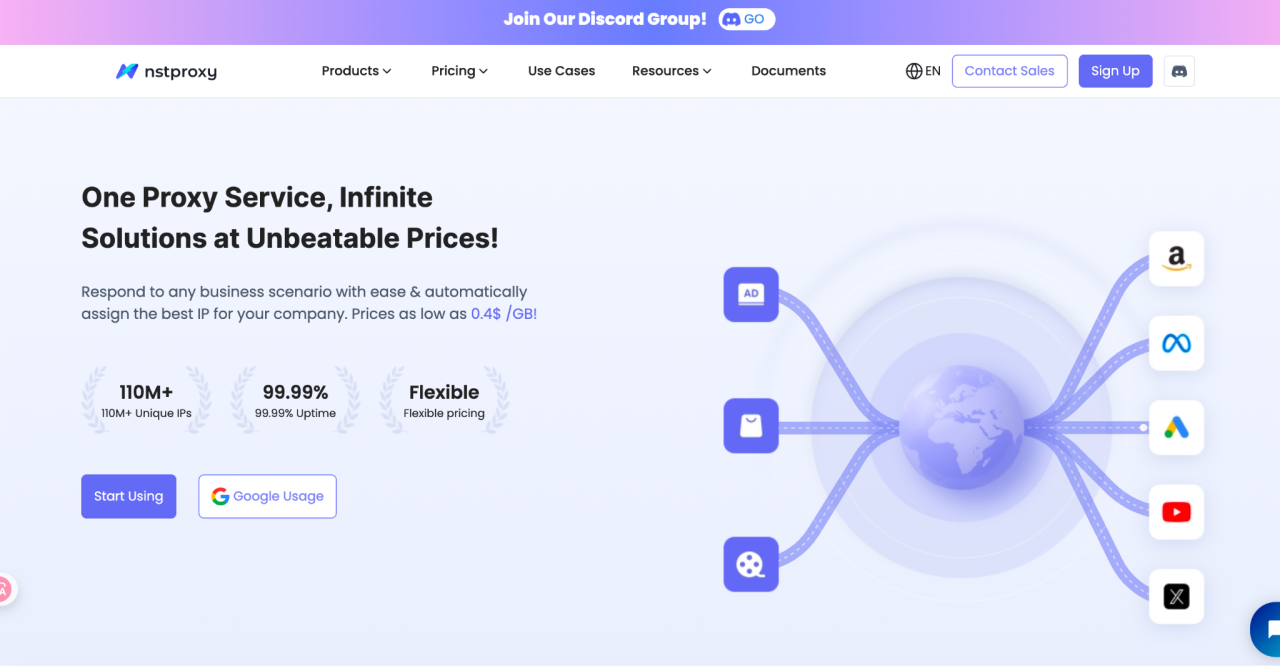
Nstproxy is a premium proxy provider designed for professionals who need stable, high-quality IPs for tasks like multi-account management, automation, data collection, and bypassing geo-restrictions.

With Residential, Datacenter, and ISP proxy types available across 195+ countries, Nstproxy offers excellent speed, anonymity, and low detection rates — making it a top choice for anti-detect browsers such as IXBrowser, VMLogin, and GoLogin.

Whether you’re running social media accounts (Instagram, Reddit, TikTok), automating marketing campaigns, or scraping data, Nstproxy ensures you have the reliability and scalability you need.


🧭 Step 1: Register & Purchase Your Nstproxy Account

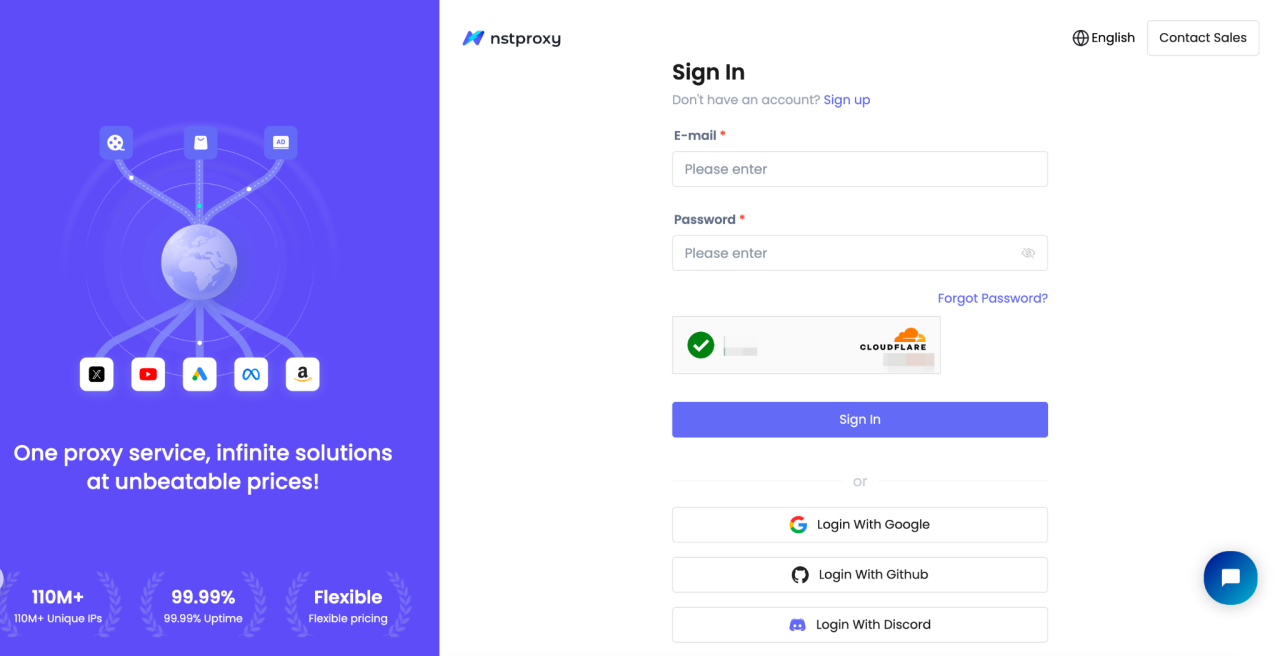
  1. Go to Nstproxy.com and sign up or log in.

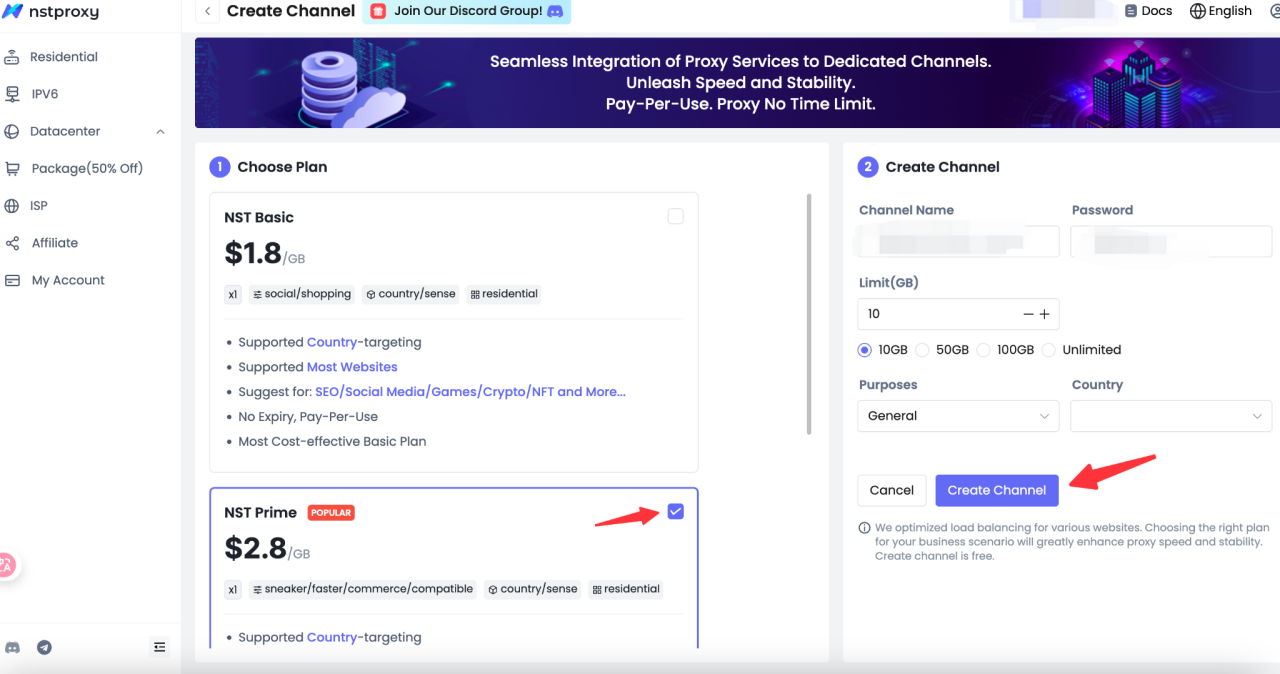
  2. Choose your preferred proxy type (Residential, Datacenter, or ISP) and complete your purchase.

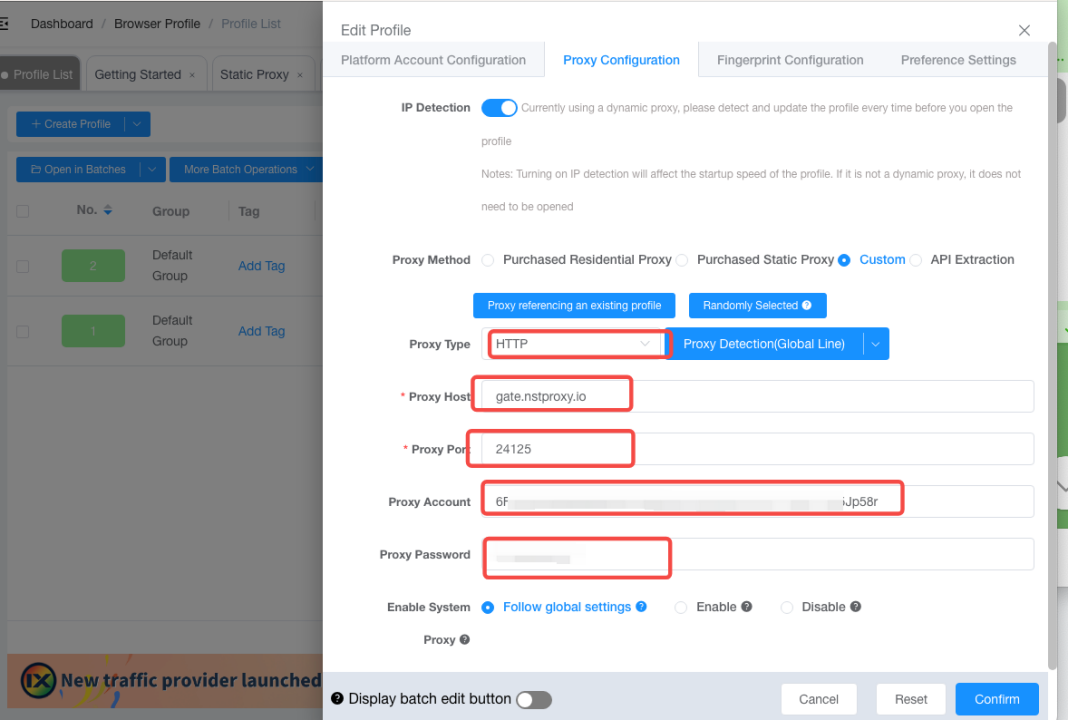
  3. After purchasing, navigate to Dashboard → My Proxies to view your credentials:

    • Host / IP
    • Port
    • Username
    • Password

Example:

D3B153E4F8170622-residential-country_US-r_30m-s_abc123:[email protected]:24125

🧭 Step 2: Install & Launch IXBrowser

  1. Download and install IxBrowser from its official website.

  2. Log in to your IXBrowser account (Free Trial available).

  3. Click “Create New Browser Profile” to generate a new browser environment.


🧭 Step 3: Configure Proxy Settings for Nstproxy

  1. In your new browser profile, go to Network / Proxy Settings.

  2. Enable “Use Proxy Server.”

  3. Enter your Nstproxy connection details:

    • Proxy Type: HTTP or SOCKS5
    • Host / IP: gw-us.nstproxy.io
    • Port: 24125
    • Username: your Nstproxy username
    • Password: your Nstproxy password
  4. Click “Confirm” to check the connection.


🧭 Step 4: Launch & Verify the Connection

  1. Go back to your browser profile list.

  2. Select your configured profile and click “Open.”

  3. Once launched, visit:

  4. You’re now connected through Nstproxy successfully!


🧭 Step 5: Best Practices & Tips

  • Use Residential or ISP proxies for the lowest detection risk.
  • Assign unique proxies per profile to avoid account linkage.
  • Align your browser fingerprint (timezone, language, WebGL) with proxy region.
  • If blocked, switch to another region or enable sticky sessions.
  • Monitor usage and maintain sufficient account balance.

✅ Summary

By following these steps, you can easily integrate Nstproxy into IXBrowser.
This setup allows you to manage multiple isolated sessions safely — perfect for social media automation, e-commerce, marketing, and web scraping.

👉 Start now with Nstproxy + IXBrowser and experience smooth, secure, and undetectable browsing.

Lena Zhou
Lena ZhouGrowth & Integration Specialist
Catalogue

Nstproxy

Scale up your business with Nstproxy

Nstproxy
© 2025 NST LABS TECH LTD. ALL RIGHTS RESERVED