


1. Register and Get Your Nstproxy Proxies
Step 1: Create an Account
 Go to Nstproxy.com and sign up or log in to your account.
Step 2: Choose a Proxy Type
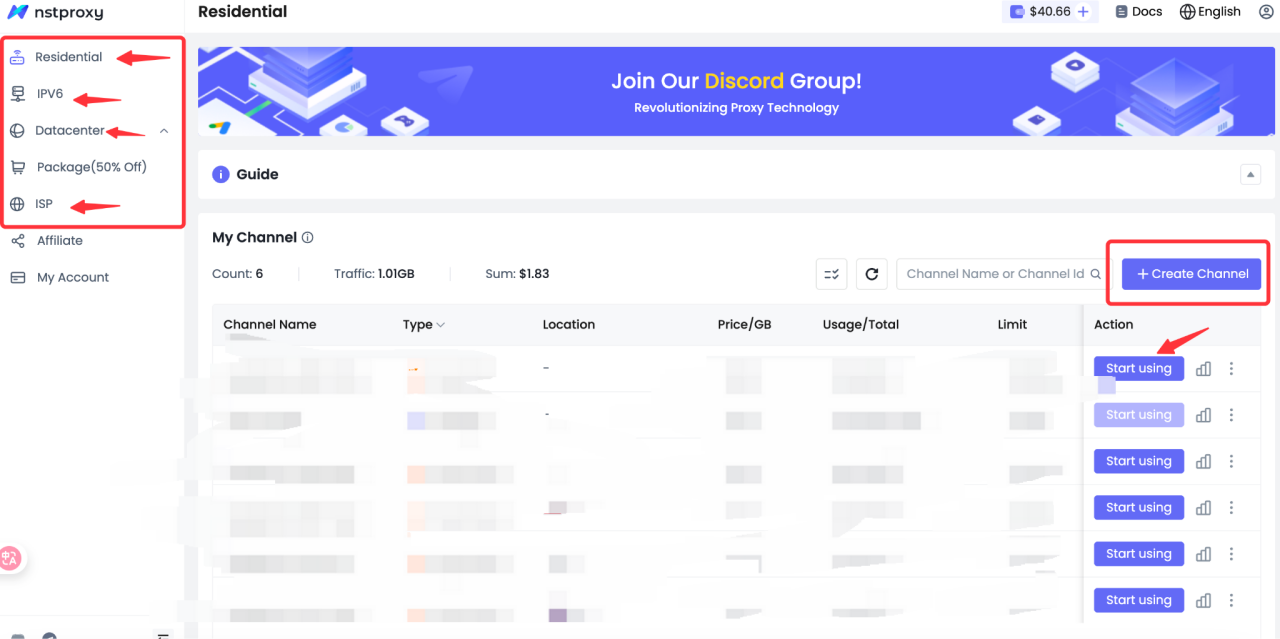
Select the proxy type that best fits your needs:
- Residential Proxy – Perfect for social media, automation, and e-commerce use cases.
- Datacenter Proxy – Fast, scalable, and ideal for bulk operations.
- ISP Proxy – Combines speed with reliability and low detection rates.
Step 3: Retrieve Your Proxy Details
After purchase, go to Dashboard → My Proxies to find your proxy connection details:

- Host/IP
- Port
- Username
- Password

Example:
D3B153E4F8170622-residential-country_US-r_30m-s_abc123:password@gw-us.nstproxy.io:24125
2. Create a New Browser Profile in VMLogin
- Launch VMLogin and log in (a free trial is available).


 3. Name your profile and configure system settings such as OS, resolution, and browser fingerprint parameters.


