With the rising risks of cyberattacks and online surveillance, it’s crucial to know how to protect your identity and maintain security. One effective approach is integrating Nstbrowser with Nstproxy.
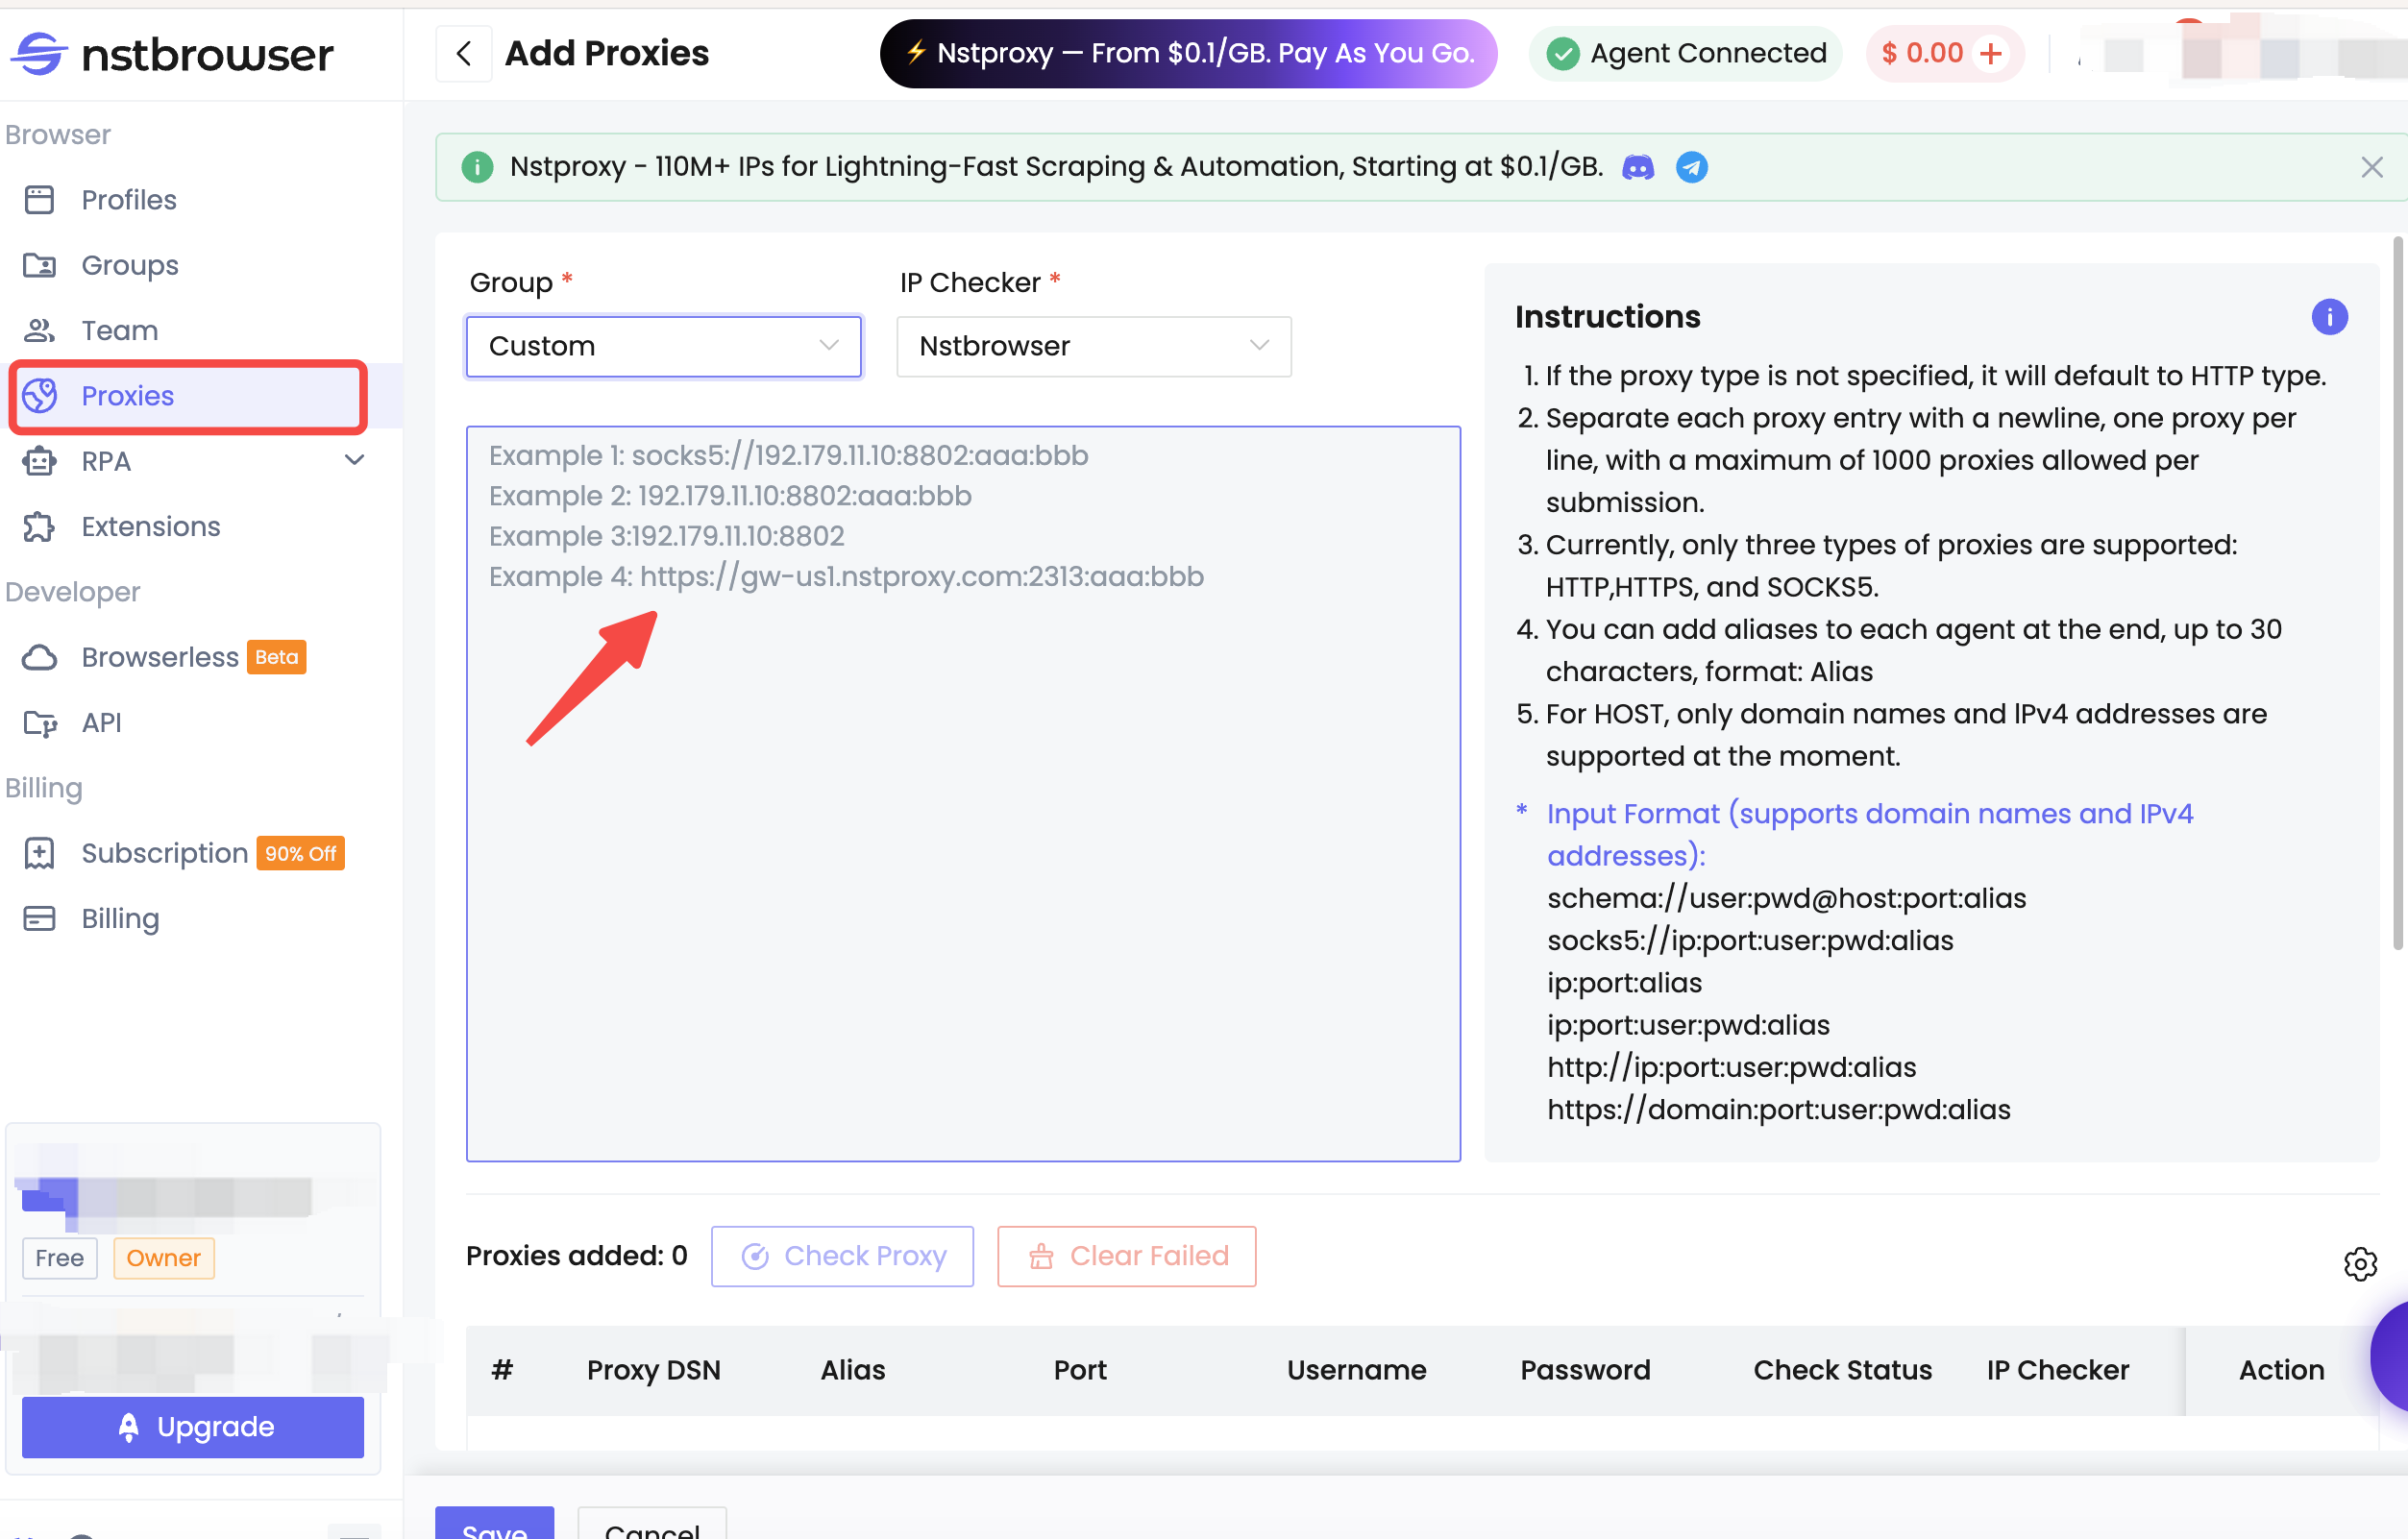
Nstbrowser is a headless fingerprint browser built for managing automation, multi-accounting, and web scraping tasks. When paired with reliable proxies from Nstproxy, you can ensure anonymity, bypass restrictions, and operate at scale.
This guide explains two ways to integrate proxies into Nstbrowser:
- Adding a single proxy
- Importing a batch proxy list
The setup process takes less than 5 minutes, and by the end of this tutorial, you’ll be able to switch between proxies seamlessly to enhance privacy and automation efficiency.
What is Nstbrowser?
Nstbrowser is a cloud-based fingerprint browser designed to handle thousands of accounts simultaneously. It generates authentic browser fingerprints to avoid detection and protect against tracking. With enterprise-grade security, it ensures all browsing activities stay private and anonymous.
Before Starting
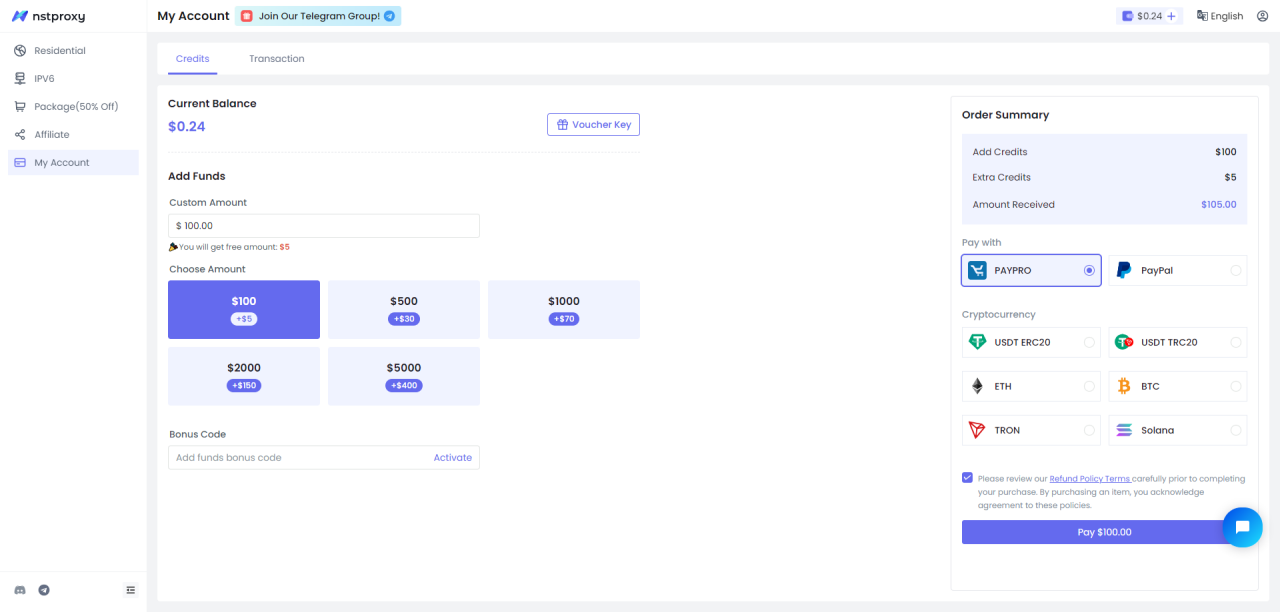
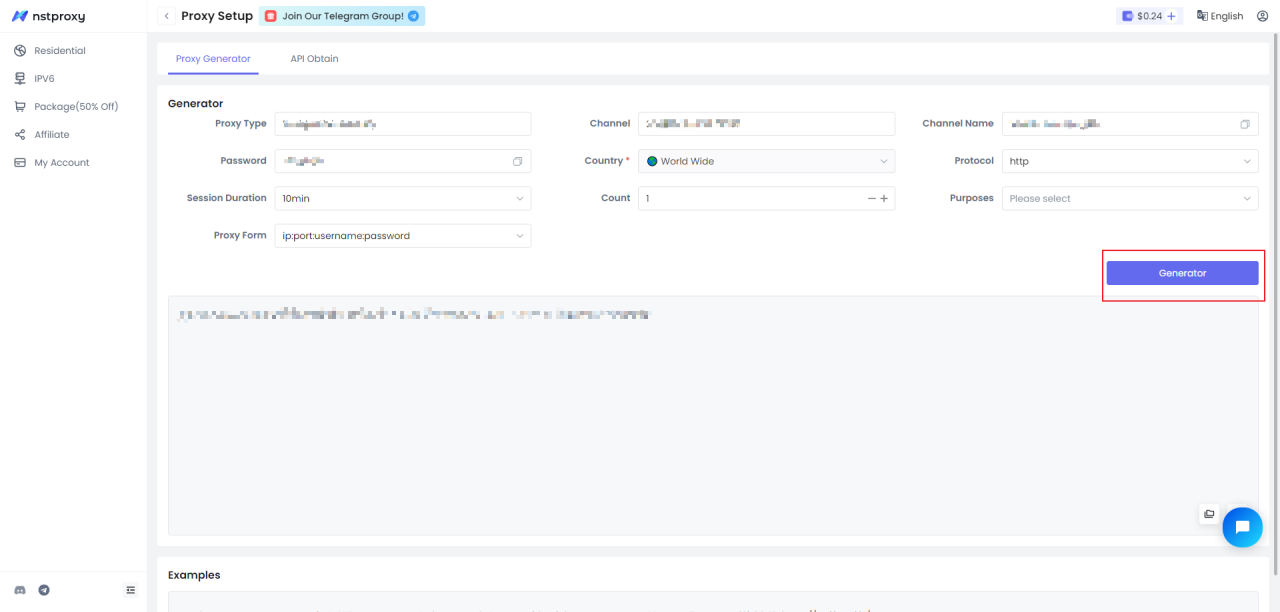
To integrate proxies, you’ll need working IPs. With Nstproxy, you get access to residential, datacenter, and IPv6 proxies in 195+ countries. For new users, trial balances are available so you can test the quality before committing.
Integration of Nstbrowser with Nstproxy is a powerful combo:
- Nstbrowser handles fingerprinting and session management.
- Nstproxy provides reliable IPs to ensure smooth, anonymous browsing.
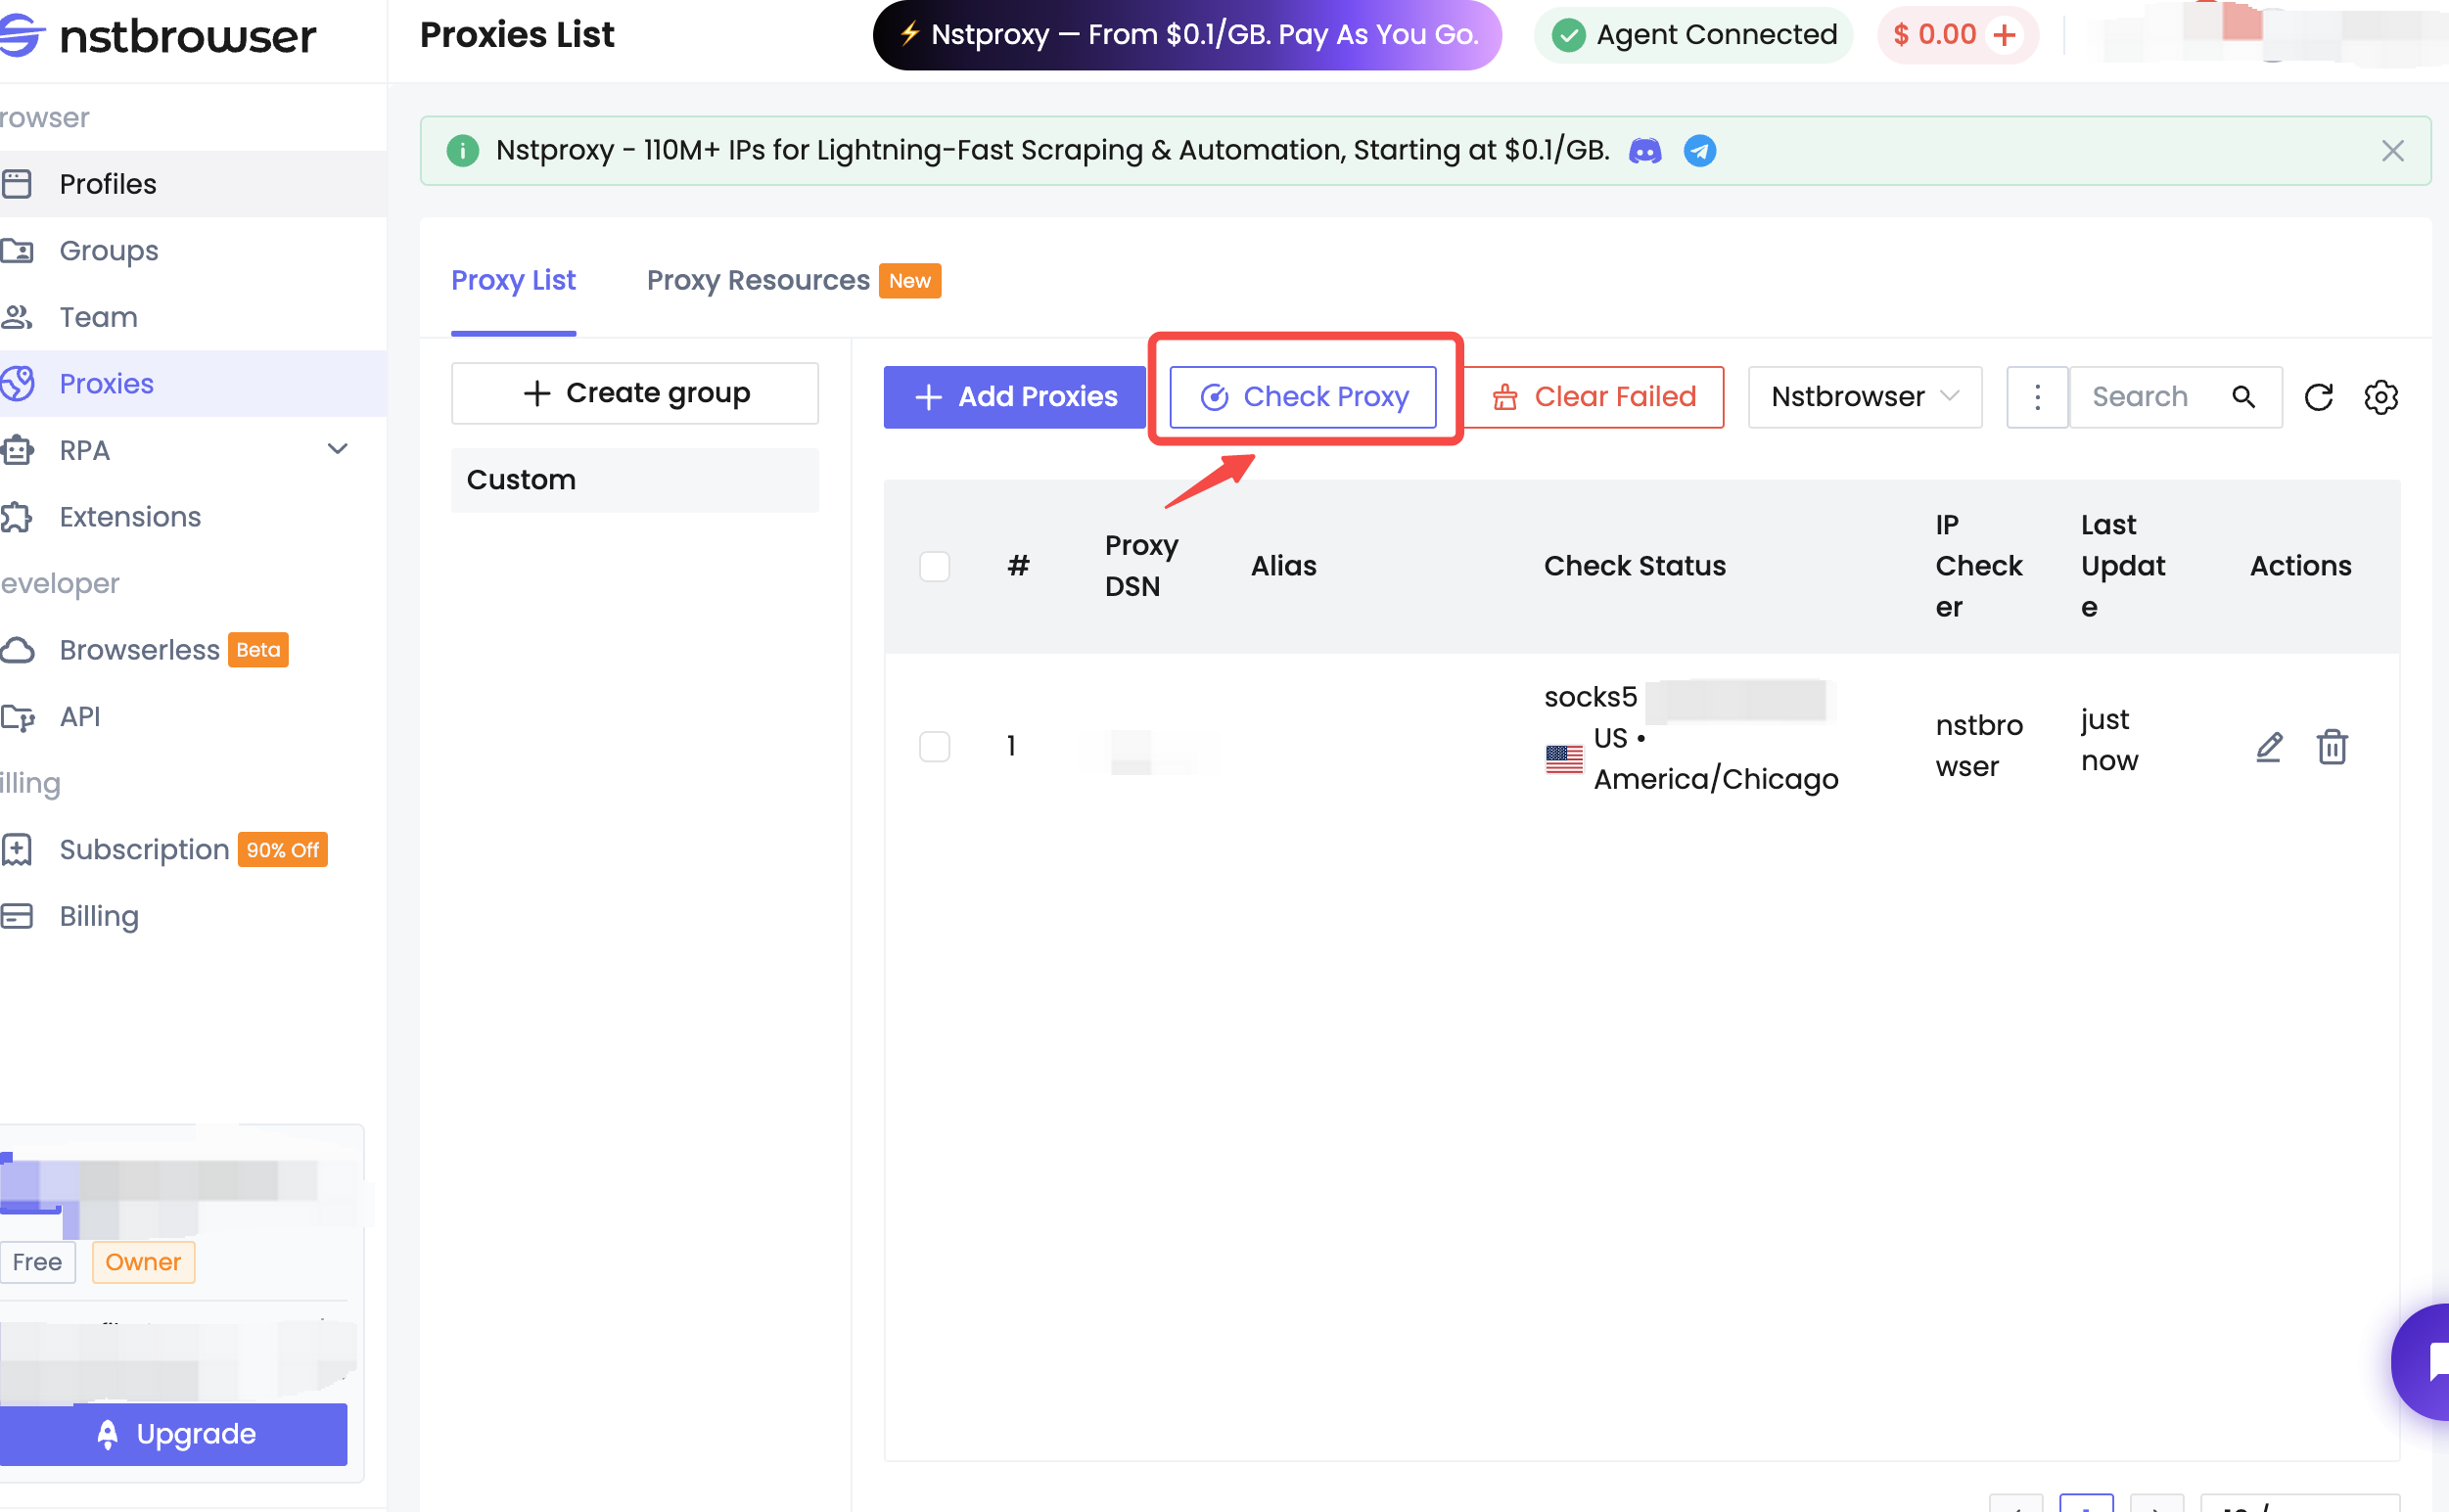
How to Set up a Single Proxy in Nstbrowser
1️⃣ Register for Nstproxy → app.nstproxy.com/register
2️⃣ Create your proxy channel (residential proxy, datacenter proxy, or IPv6 proxy)
3️⃣ Copy proxy credentials from Nstproxy dashboard
Download Nstbrowser
-
Visit the official Nstbrowser website.
-
Download the version compatible with your OS (Windows or macOS).
-
Install and run the application.
-
Sign in using Google, GitHub, or Facebook.
Configure a Proxy
- Once inside Nstbrowser, go to Proxies → Proxy Configuration.
- Select one of your Nstproxy credentials from the dashboard.
- Enter the proxy details (IP/Port, Username, Password).
Test Proxy
- Click Check proxy to verify if it works.
- Once confirmed, click Save.
(Optional) If you’re using rotating proxies, configure them the same way, but remember to select the correct rotation option when saving.
Apply Proxy to a Profile
- Create a new profile inside Nstbrowser.
- Go to Proxy Settings → Saved Proxies.
- Select the Nstproxy entry you saved.
- Verify again and then click Create Profile.
- Hit Play to launch the profile and confirm via IP check (e.g., ipinfo.io).
How to Set up a Batch Proxy List in Nstbrowser
If you’re working on large projects, batch proxy import saves time.
1. Download the Template
- Go to Profile → Batch Import.
- Download the CSV template file.
2. Add Your Proxies
- Fill the template with multiple Nstproxy credentials.
- Save the file in CSV or Excel format.
3. Upload Proxy List
- Go back to Batch Import in Nstbrowser.
- Upload the updated file.
- Click Save to confirm.
4. Test Proxies
- Once imported, you can test each proxy by clicking the Play icon.
Conclusion
Integrating Nstbrowser with Nstproxy allows you to maintain anonymity, scale operations, and manage multiple accounts without interruptions.
- Nstbrowser provides fingerprint management and account security.
- Nstproxy delivers high-quality residential, datacenter, and IPv6 proxies with global coverage.
Together, they form a secure and scalable setup for scraping, e-commerce monitoring, automation, and more.
👉 Get started with Nstproxy today and enjoy stable, anonymous browsing inside Nstbrowser.