Back To Blog
Oct. 21st 2025

How to Set Up Proxies in XLogin | Step-by-Step Integration Tutorial

Learn how to integrate Nstproxy with XLogin in this setup guide. Step-by-step instructions to configure HTTP/SOCKS5 proxies, verify connections, and optimize browser profiles for social media, automation, and data tasks.

Running multiple social media or e-commerce accounts safely requires more than just an anti-detect browser — you also need clean, stable IPs.
In this tutorial, we’ll walk you through how to configure Nstproxy proxies in XLogin, ensuring each browser profile has its own unique, undetectable identity.


1. Register & Purchase Your Nstproxy Account

Go to Nstproxy.com and sign up or log in to your account.

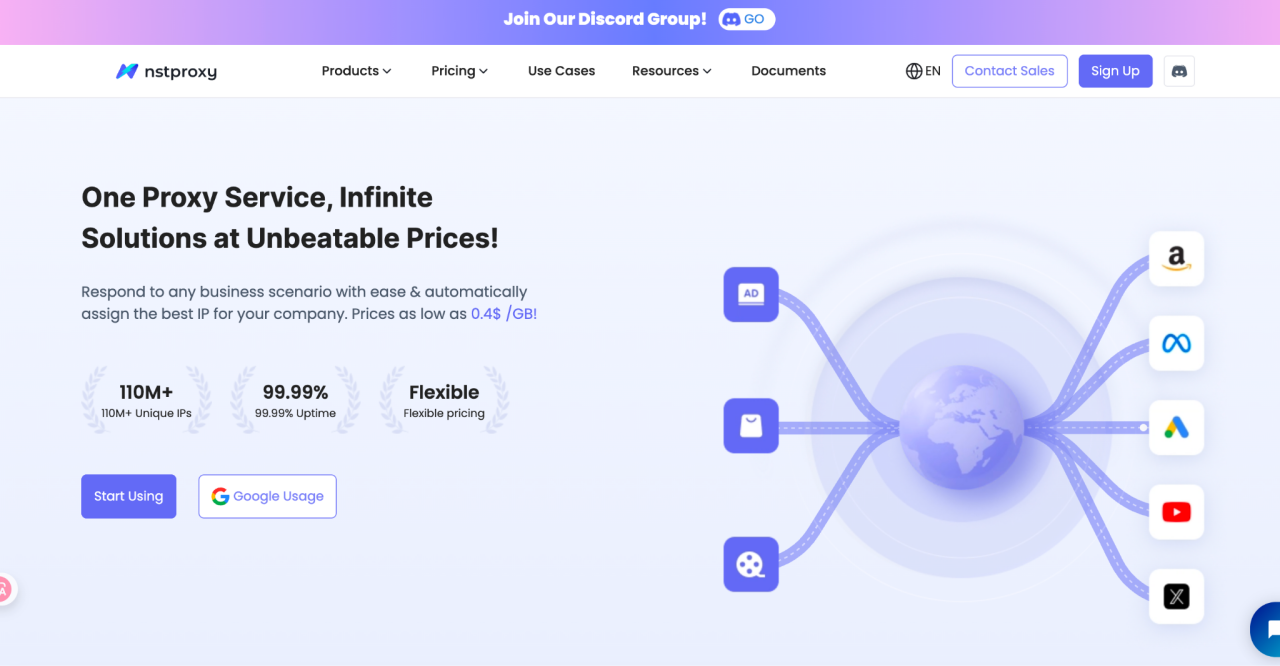
Choose your desired proxy type — Residential, Datacenter, or ISP — and complete your purchase.

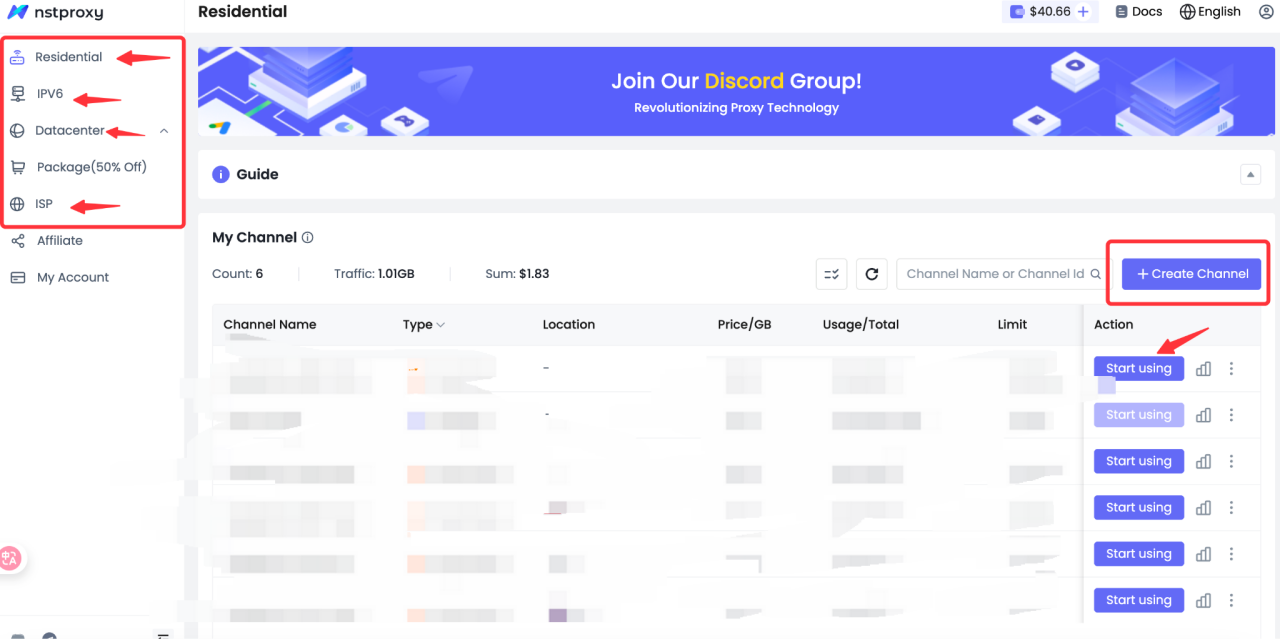
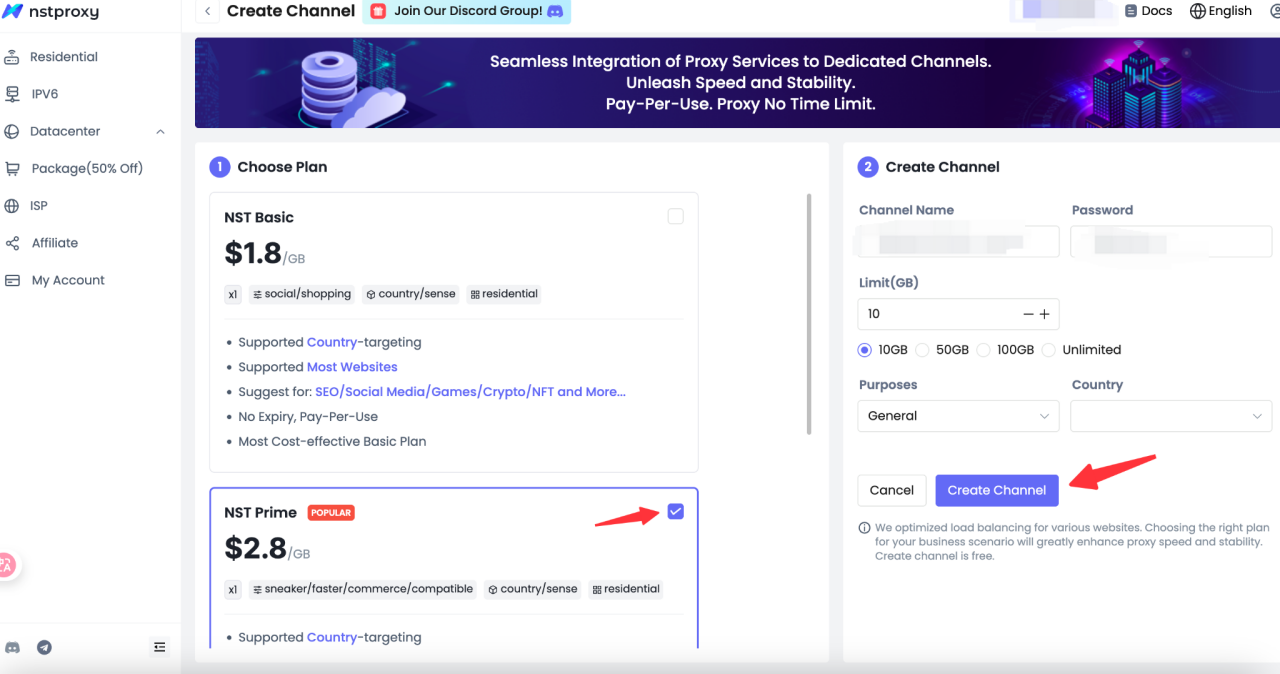
After purchase, navigate to your Dashboard → “My Proxies” to obtain the following credentials:

  • Host/IP
  • Port
  • Username
  • Password

Sample:

D3B153E4F8170622-residential-country_US-r_30m-s_abc123:[email protected]:24125

2. Open XLogin & Create a New Browser Profile

  1. Launch XLogin and sign in (you can try the 3-day free trial).
  2. Click “New Browser Profile” in the sidebar.
  3. Name your profile and adjust system preferences such as OS, resolution, and browser fingerprint.

3. Set Proxy in the Browser Profile

Within the profile creation window, find “Setting Proxy Server.”
Enable “Proxy Server” and fill in your Nstproxy credentials:

Field Example
Host/IP gw-us.nstproxy.io
Port 24125
Username your-nstproxy-username
Password your-nstproxy-password

Click “Test Proxy.”
If the IP or location matches your proxy region, your configuration is successful.
Finally, click “Save” to store your proxy setup.


4. Launch & Verify the Browser Profile

Return to your profile list and click “Launch Browser.”
Once opened, verify your proxy connection at:

If the IP corresponds to your selected proxy location, your proxy is active — you’re ready to browse securely.


5. Best Practices & Optimization Tips

Use Residential or ISP Proxies for high-trust, low-detection environments such as multi-account management and automation.
Assign unique proxies per profile — never reuse the same IP for multiple accounts.
Match browser fingerprint settings (timezone, WebGL, fonts, screen resolution) with the proxy location for authenticity.
Rotate locations or enable sticky sessions if you encounter handshake or IP-block errors.
Monitor proxy performance regularly and switch endpoints if latency occurs.
Store credentials safely and avoid sharing access between users.


✅ Summary

By following these steps, you can easily integrate Nstproxy with XLogin to create secure, isolated browsing environments.
This setup helps you manage social media accounts, run automation, and scale your online operations without detection.

🚀 Start now: Nstproxy.com

Lena Zhou
Lena ZhouGrowth & Integration Specialist
Catalogue

Nstproxy

Scale up your business with Nstproxy

Nstproxy
© 2025 NST LABS TECH LTD. ALL RIGHTS RESERVED